In this article, I provide some practical tips when using our Python sample code for 3D hand-eye calibration to help you achieve 3x improvement in translation error and 5x in rotational error.
The resources I've used are found at the end of the article.
In Zivid software version 1.6, we included a 3D hand-eye calibration API for our Zivid 1+ 3D cameras. To further simplify the use of the hand-eye calibration, we provide a practical Python sample on GitHub.
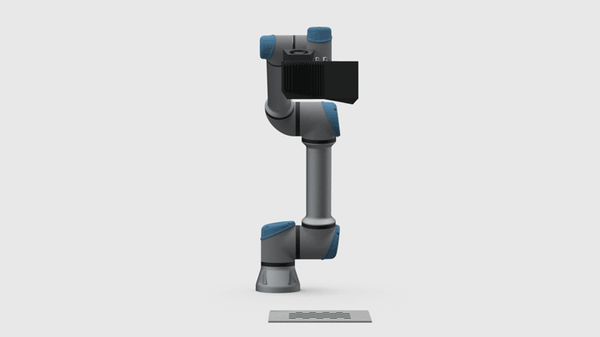
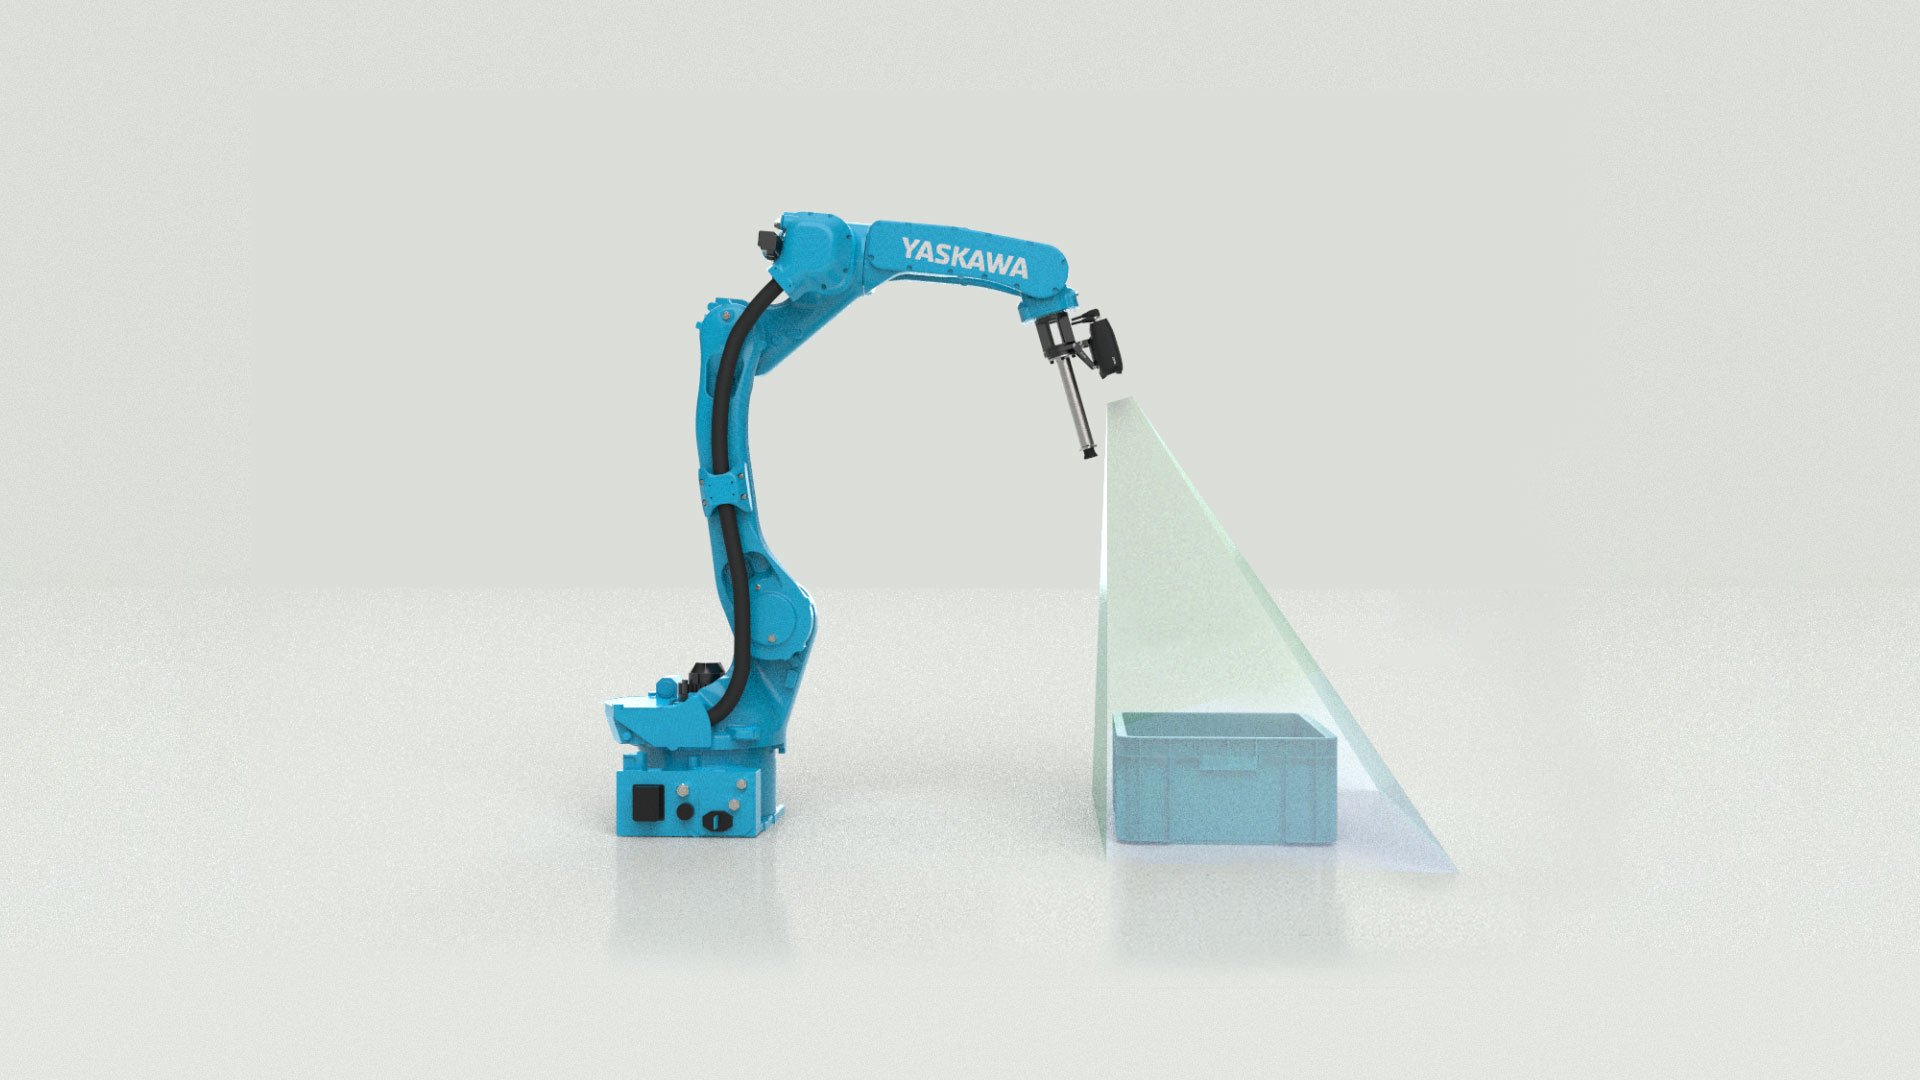
Note: The example code uses Universal Robots' (UR) UR5e, but you can apply the concepts to collaborative robots from ABB, Yaskawa, and others.
Why are we using UR5e?
Universal Robots is one of the leading collaborative robotics companies in the world. It was one of the first companies that developed and mass-produced commercial collaborative robots. Since 2005 UR has sold more than 42,000 robots and has a market share of 50% in the collaborative robot's market.
The UR5e is a lightweight collaborative robot that is part of the new robot series from Universal Robots.
What is hand-eye calibration?
You may wonder, what is hand-eye calibration by the way? You can read more about the concepts of 3D hand-eye calibration here, but in short, hand-eye calibration is the binding process between a camera and a robot.
For example, you may want to integrate a Zivid 1+ 3D camera with a robot arm to provide a complete bin-picking or pick and place solutions.
There are two types of hand-eye calibration methods:
- Eye-to-hand is used when the camera is stationary mounted next to a robot.
- Eye-in-hand is when the camera is mounted on the robot.
Both calibration methods are supported by our API, and is available in the sample code.
Hand-eye calibration process.
Getting the hand-eye calibration right is critical for the system to perform correctly, so it is important to do it properly.
The calibration steps include:
- Move the robot to a unique pose
- Register the end-effector pose
- Image the calibration object (obtain its pose)
- Repeat steps 1-3 multiple times, e.g. 10 - 20
- Compute hand-eye transformation
With a set of point clouds and corresponding robot poses, our hand-eye calibration API computes the hand-eye transform. This will always be an affine transformation consisting of a homogeneous 4x4 matrix.
We also provide you with residuals/error in rotation and translation for every pose of your dataset. This way, you can easily verify that the calibration fits your requirements.
Tips and recommendations.
While developing the hand-eye API, we did a lot of testing. Below you'll find some tips on capturing accurate 3D data.
The calibration object.
There are several different calibration objects used in hand-eye calibration varying from spheres to ArUco markers and checkerboards. The exact location of the calibration object is not important, but it must be static for all the robot poses.
Whether you are performing an eye-to-hand or eye-in-hand calibration, make sure that calibration objects stay in the exact same position relative to the robot base or robot tool.
We recommend using our 9x6 size checkerboards. They are available in the downloads section.
Image quality.
We use 3D data to do the hand-eye calibration, in contrast to OpenCV. The calibration object must be well exposed and in focus.
Capture Assistant in Zivid Studio is a tool that helps you capture correctly exposed, high-quality 3D point clouds of the checkerboards without manual adjustments.
Make sure that the robot is not moving while capturing images.
Tip: wait 2 seconds after the robot has moved to a new pose before capturing your next image.
Robot poses.
Robot positioning accuracy is not consistent along the robot's workspace. Positions far away from the robot base is in general less accurate than close to the base. Therefore, hand-eye result depends on which robot poses you set. To get as accurate hand-eye calibrations as possible, your robot poses should span the entire working area of your application. Poses should also be sufficiently distinct, using all the robot joints.
Tip: make sure that the calibration object is in the field of view of the camera for all the robot poses.
Environmental conditions.
Temperature, joint friction, payload and manufacturing tolerances are factors that affects a robot. Accordingly, during hand-eye calibration these factors such be similar to the working conditions of your application.
Calibration complete! Now what?
Congratulations, you now have acquired a 4x4 transformation matrix from the 3D hand-eye calibration, so now what?
This depends on your specific application.
Let’s say you are developing a picking application. Your machine vision software has detected the object of interest in a Zivid point cloud. Object coordinates are in the camera coordinate system. Using the hand-eye transformation matrix, you transform the coordinates from the Zivid camera to the robot base coordinates. These coordinates are intuitive for the robot and can be passed directly to a gripper to pick it up the object.
It is important to note that the picking accuracy of a vision-guided robotic system does not only depend on the camera. It is a combination of
- Camera
- Hand-eye calibration
- Robots
- Machine vision algorithm for object matching
Robots themselves are generally highly repeatable, but not always accurate. Temperature, joint friction, payload, and manufacturing tolerances are factors that affect a robot's pose accuracy. The same considerations are true for 3D sensors and cameras as well.
At Zivid, we strive to provide you with the most accurate cameras complimented by the best hand-eye calibration algorithm, and you can find the specifications in the Zivid 1+ datasheet.
Tip: If you have a high-quality hand-eye calibration, you also have a proper initialization for point cloud stitching!
By transforming multiple point clouds of a scene, captured from different angles, to the same coordinate system, the overlapping regions of the scene lie on top of each other.
Example: capturing and stitching a spray bottle
After all this initial calibration work, let's put our resulting hand-eye transformation matrix to the test. We want to capture the dimensions of a spray bottle, and quickly set up a 2 pose sequence.
Merging the two point clouds gives us this result:
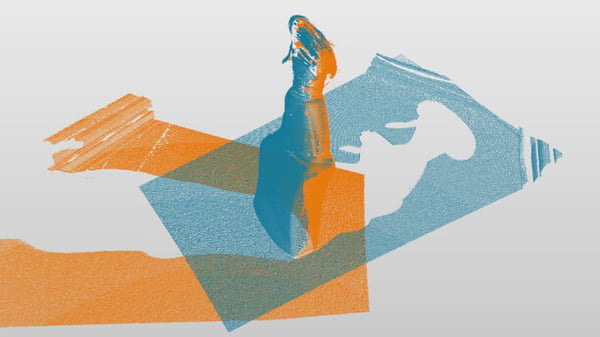
After post-processing our point cloud (e.g. plane removal and outlier filtering), the resulting point cloud gives us a clean shape of the product from both sides.
For a complete 360° coverage we can optimize our two capture poses, or added a third capture.
You can play with the final result of our stitching here:
What’s next?
I hope this article provided insight and useful information on how you perform hand-eye calibration and how to collect a dataset with a 3D camera and your robot.
In the samples in the Zivid GitHub repo you can find even more samples for the Zivid 1+ 3D cameras.
If you want to dig deeper into the theory of hand-eye calibration, we have some great articles in the Zivid knowledge base.
Resources
The best way to mount your 3D machine vision sensor
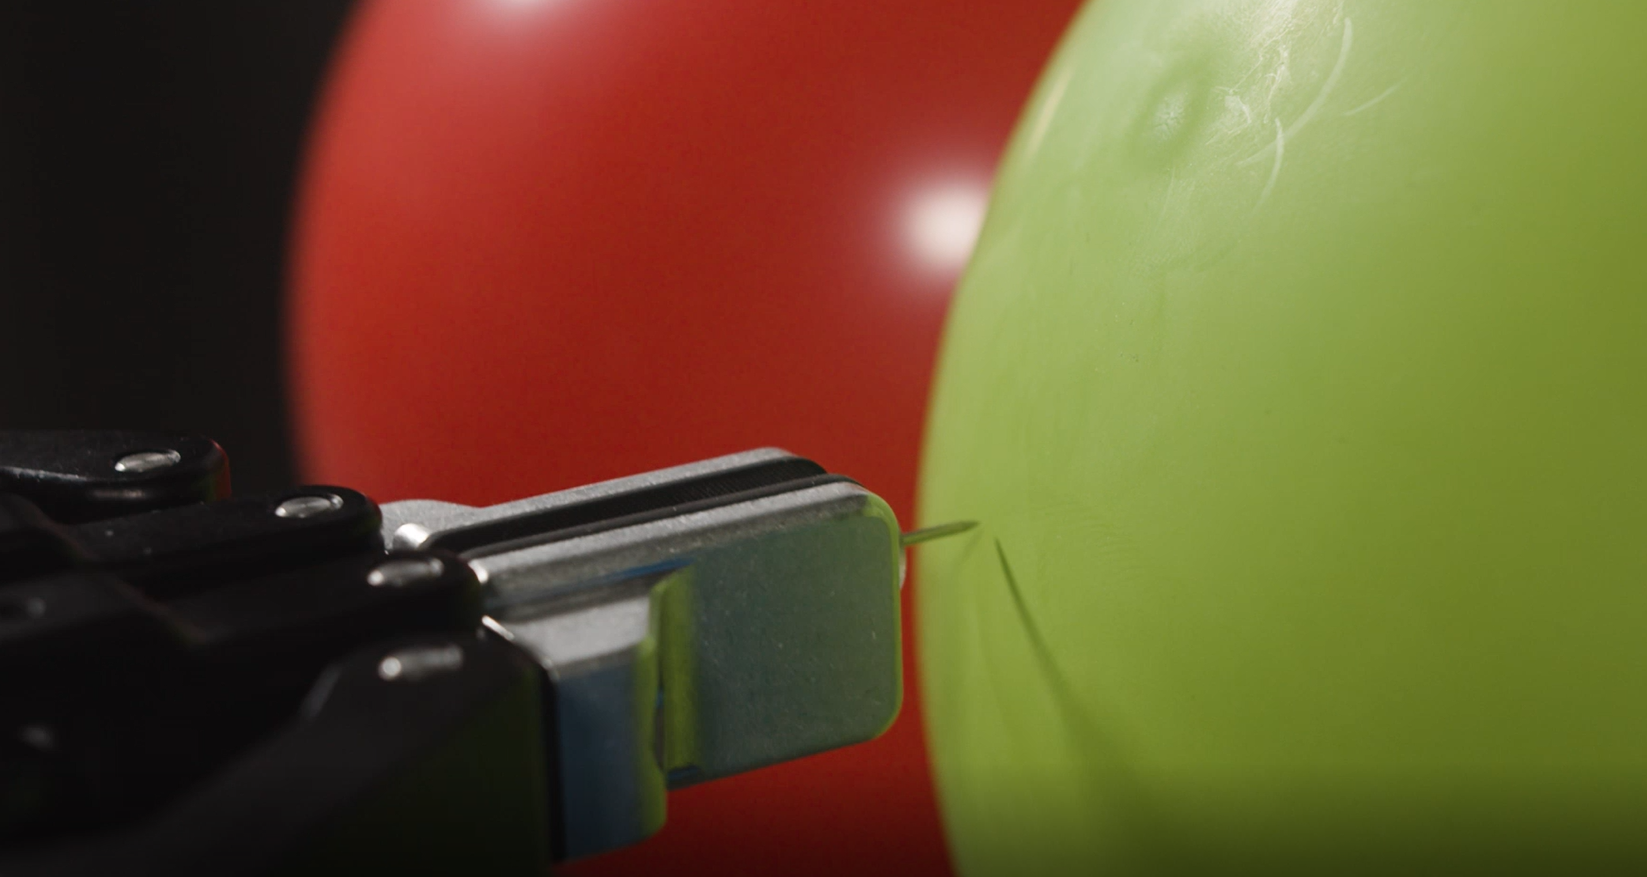
Test of Trueness: Balloon vs. Pushpin