We’ve seen robots play ping-pong, make jumpshots on the basketball court, and recently attempt parkour in an obstacle-littered warehouse, but we haven’t seen a robot DJ… until now!
The video above was filmed at Zivid headquarters in Oslo, Norway, where our 3D cameras and robots come to life.
Usually, our systems are used for picking and placing objects to automate dull, dangerous, and dirty tasks. But now we can expand this list to also include two more “D’s” – DJ’ing and Dancing!
OK, the camera is not really coming to life and DJing, but hey, at least it's fun. Check out the point cloud of the controller we took during the video:
In addition to having some fun and illustrating our joy for robotics, there are also some meaningful engineering lessons and resources in this project. Building any robot project with 3D vision, whether for factory lines or for musical stages, can be challenging. Let’s take a look “behind the scenes” to see how this project was built.
Step 1 – Choosing the right robot and sensor
The first step is choosing the right equipment, and that is dictated by the application and requirements. The major hardware decisions to consider are choosing the right robot arm, sensor, and computer for processing.
Here are some of the key requirements to gather before selecting the hardware:
- Setting: What is the lighting environment?
- Speed: How fast does the robot need to move, pick, and place?
- Distance: What distance does the robot need to cover and what is the sensing distance?
- Accuracy: How accurate and precise does the vision need to be? What gripper type is required?
Here are our answers for this specific DJ Zivid project:
|
Requirement |
Answer for DJ Zivid project |
3D sensor type |
Robot arm |
PC |
|
Setting |
Indoors (some ambient light) |
Structured light or stereo |
n/a |
n/a |
|
Speed |
Fast (push button |
Structured light or stereo |
Cobot or Industrial |
CPU/GPU and interface is driven by 3D sensor |
|
Distance |
Robot reach: 1-2m |
Structured light or stereo |
Cobot is best for this application |
n/a |
|
Accuracy |
Push sliders: ~5mm tolerance |
Structured light is more accurate |
Cobot or industrial |
n/a |
|
|
|
|
|
|
|
Our decisions, based on all factors |
Structured light (Zivid Two) |
Cobot, UR5e |
Custom PC |
|
Summarizing our requirements for this project, we decided to use Zivid Two 3D sensor with a UR5e and our custom PC. These selections satisfied the requirements related to setting, speed, distance, and accuracy.
Helpful resources for your project:
- Understanding vision technologies: 3D vision technology principles (zivid.com)
- Zivid system requirements: System requirements — ZIVID KNOWLEDGE BASE documentation
- Calculating FoV and Imaging Distance: Calculate FOV and Imaging Distance — ZIVID KNOWLEDGE BASE documentation
Step 2 – Setup
We’ve made our hardware selection. Now it is time to think about the setup. One of the aspects to consider is the physical sensor mounting architecture. This might be limited by your sensor selection (above), but if not, it is valuable to consider stationary mounting versus on-arm (robot) mounting.

Here is the high-level comparison of each mounting approach:
| Stationary mounted 3D sensor | On-arm Zivid 3D camera |
| Fixed PoV and FoV | Dynamic FoV/PoV |
| Average image per pick | Best image per pick |
| More susceptible to occlusion | Less susceptible to occlusion |
| Higher number or sensors needed | Lower number of sensors needed |
| Fastest cycle time | Fast cycle time |
| Medium sensitivity to motion planning | Larger sensitivity to motion planning |
In the DJ Zivid project, we chose on-arm mounting. Not only was it aesthetically preferred for the purpose of this video, but it also gives the maximum flexibility for image capture positions, which enables better point clouds.
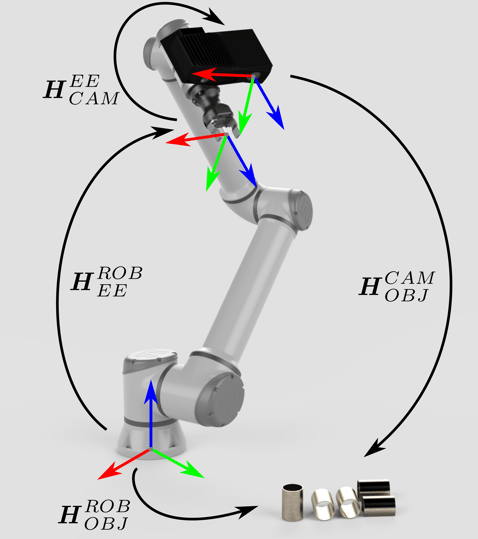
After selecting an on-arm architecture, we proceeded to the calibration process. This involved two separate types of calibration - camera calibration ("in field correction") and eye-in-hand calibration for transforming vision to robot perspective.
After warming up the camera for 10 minutes, we applied in-field correction at the preferred working range in order to optimize the camera’s performance. (It is advised to do this in the field during the normal operating conditions).
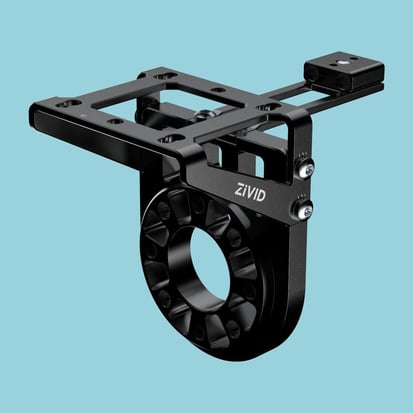
Once the in-field correction was completed, we moved on to physical mounting and hand-eye calibration. On-arm mounting is achieved with our Zivid mounting bracket, which is available on our webshop.
Finally, after mounting the camera on the robot arm, we applied the eye-in-hand calibration as shown below. This process binds the robot’s position and coordinate system to the camera’s position and coordinate system.
Helpful resources for your application:
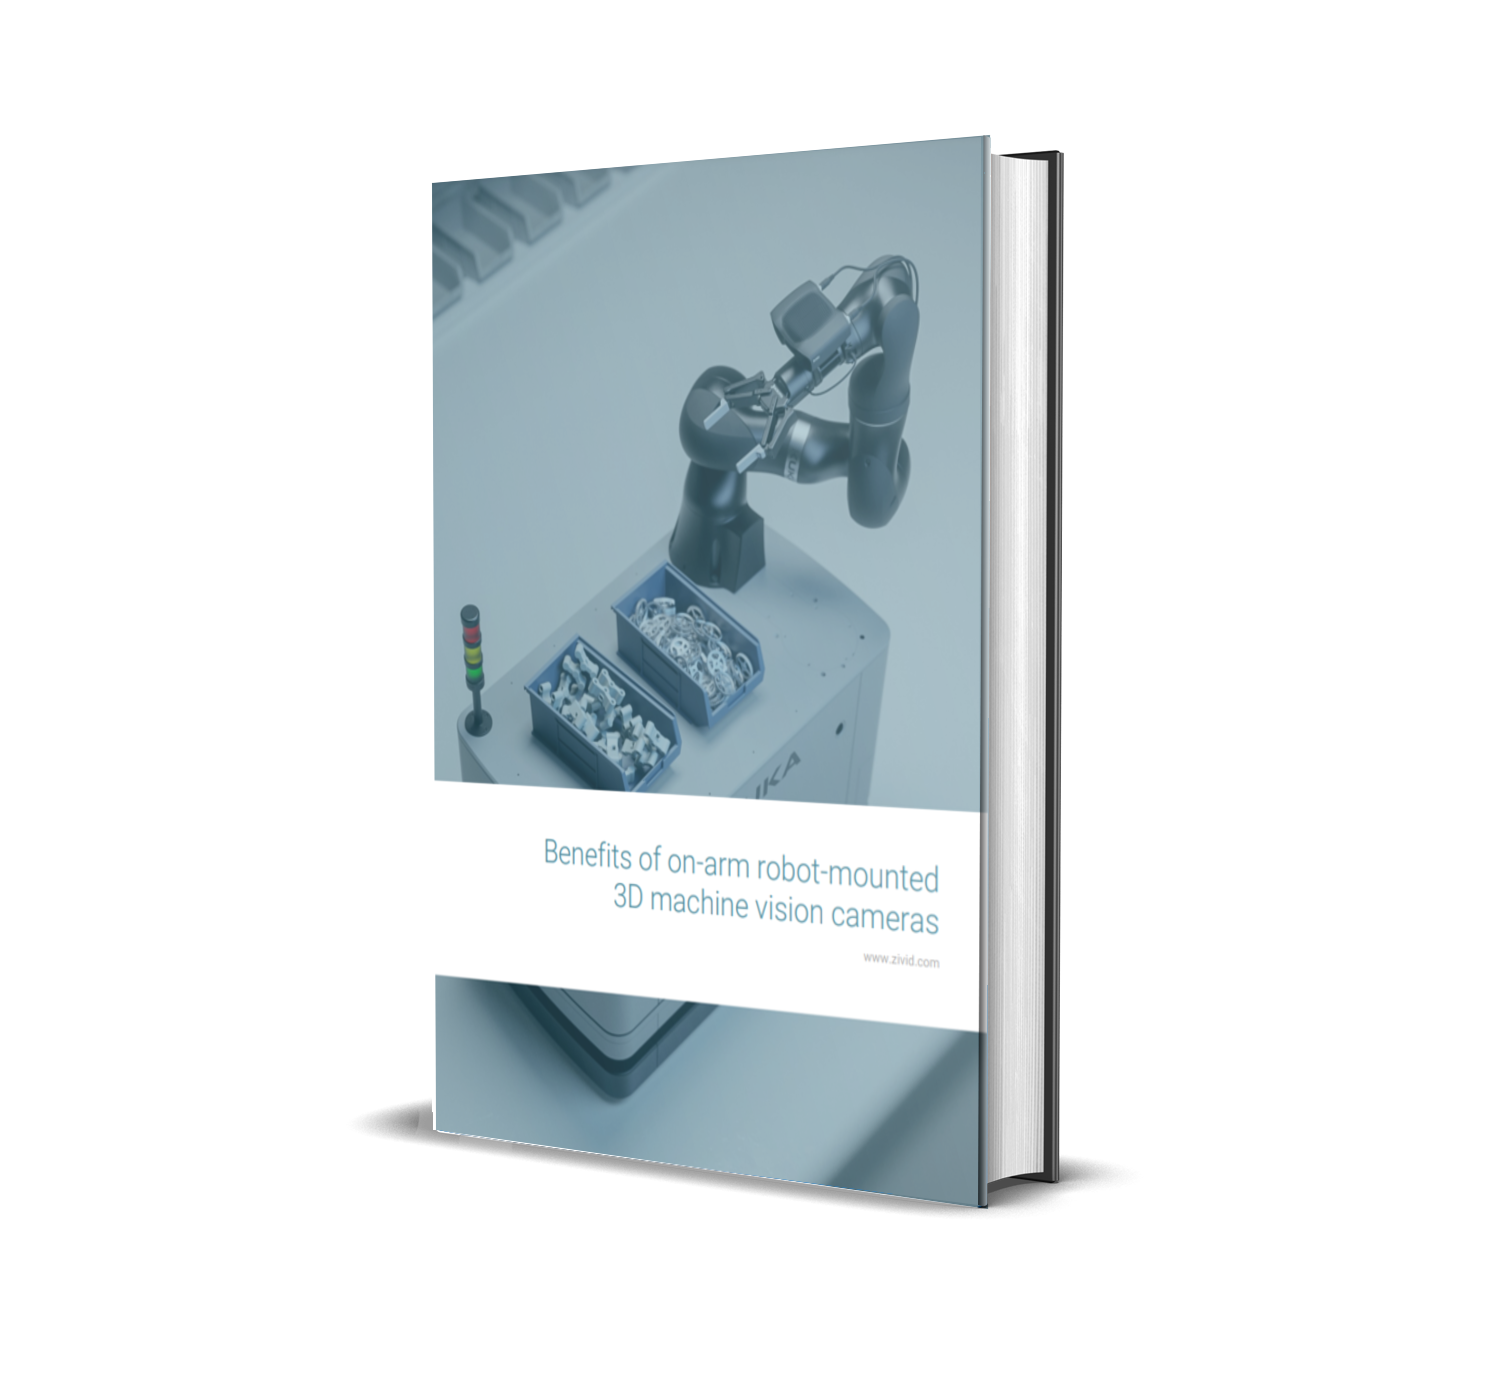
- On-arm e-book: eBook-Benefits of on-arm robot-mounted 3D machine vision cameras (zivid.com)
- Mechanical and Electrical installation: Mechanical and Electrical Installation — ZIVID KNOWLEDGE BASE documentation
- Warm-up process: Warm-up — ZIVID KNOWLEDGE BASE documentation
- Calibration process: Hand-Eye Calibration Process — ZIVID KNOWLEDGE BASE documentation
Step 3 – Programming the application
At this point, the system is physically set up and has the basic infrastructure, but it lacks the brains to know what it should do during operation. After setup, the current step is to actually program the application, which in this case, was our DJ application.
Conceptually, this is what we set out to build:
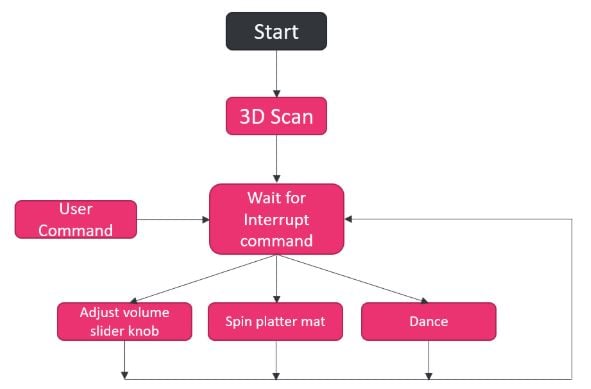
It is a simple application that has three different tasks – spinning the platter mat, adjusting the volume, and dancing. The motion associated with those tasks was hard-coded into the application, but we enabled run-time commands from a user to initiate those tasks. A 3D point cloud of the turntable, along with user input on button definitions, was used to identify the specific objects (buttons) associated with each task.
If you’ve developed an automation project, you know that even “simple” projects with hard-coded applications can be challenging and time-consuming. The overall effort is largely dependent on the development kit (SDK), development tools, and support.

Here is a brief summary of what Zivid offers for development:
- Software language support: C++, C#, Python, ROS
- Other software support: Matlab, Halcon
- Examples and code base: Zivid · GitHub
- Knowledge Base Articles and Guides: Welcome to Zivid’s Knowledge Base! — ZIVID KNOWLEDGE BASE documentation
- Personal support: customersuccess@zivid.com
Another valuable resource is our network of vision middleware and integration experts. During development, system developers often realize they need help with specific aspects of the project. This could include the modules that handle object detection, object classification, pick planning, motion planning, and more.
Zivid is a global company with an extensive network of experts in various aspects of automation development and deployment. We love solving problems and bringing the right people together to make a project successful, so let us know if you are looking for additional help in a specific area of your project.
Step 4 – Start the Show!
The hard part is completed. Now it’s time for some fun and seeing the fruits of your labor. In the DJ Zivid application, it’s time to pick a song, run the application, and enjoy the results.
We know that automation projects can have more serious consequences and goals, but don’t forget to have fun along the way. Zivid is here to help, by providing a human-like vision for your robot and by making your journey successful, smooth, and enjoyable.
Summary of our steps in this project
- Requirements assessment
- Hardware selection
- Mounting architecture
- Physical set up
- Warm-up
- Optimize at working distance with in-field correction
- Eye-in-hand calibration
- Application concept outline
- Software development (build, test, iterate)
- Go! (Play the music)
Now that you saw a robot Dj and dance, what else should we make him do? Play football, play chess, order a pizza?
Give us your ideas and stay tuned for more fun videos!

Zivid's summer round-up
.jpg)
How this New Architecture will Revolutionize ROI for Robotic Systems