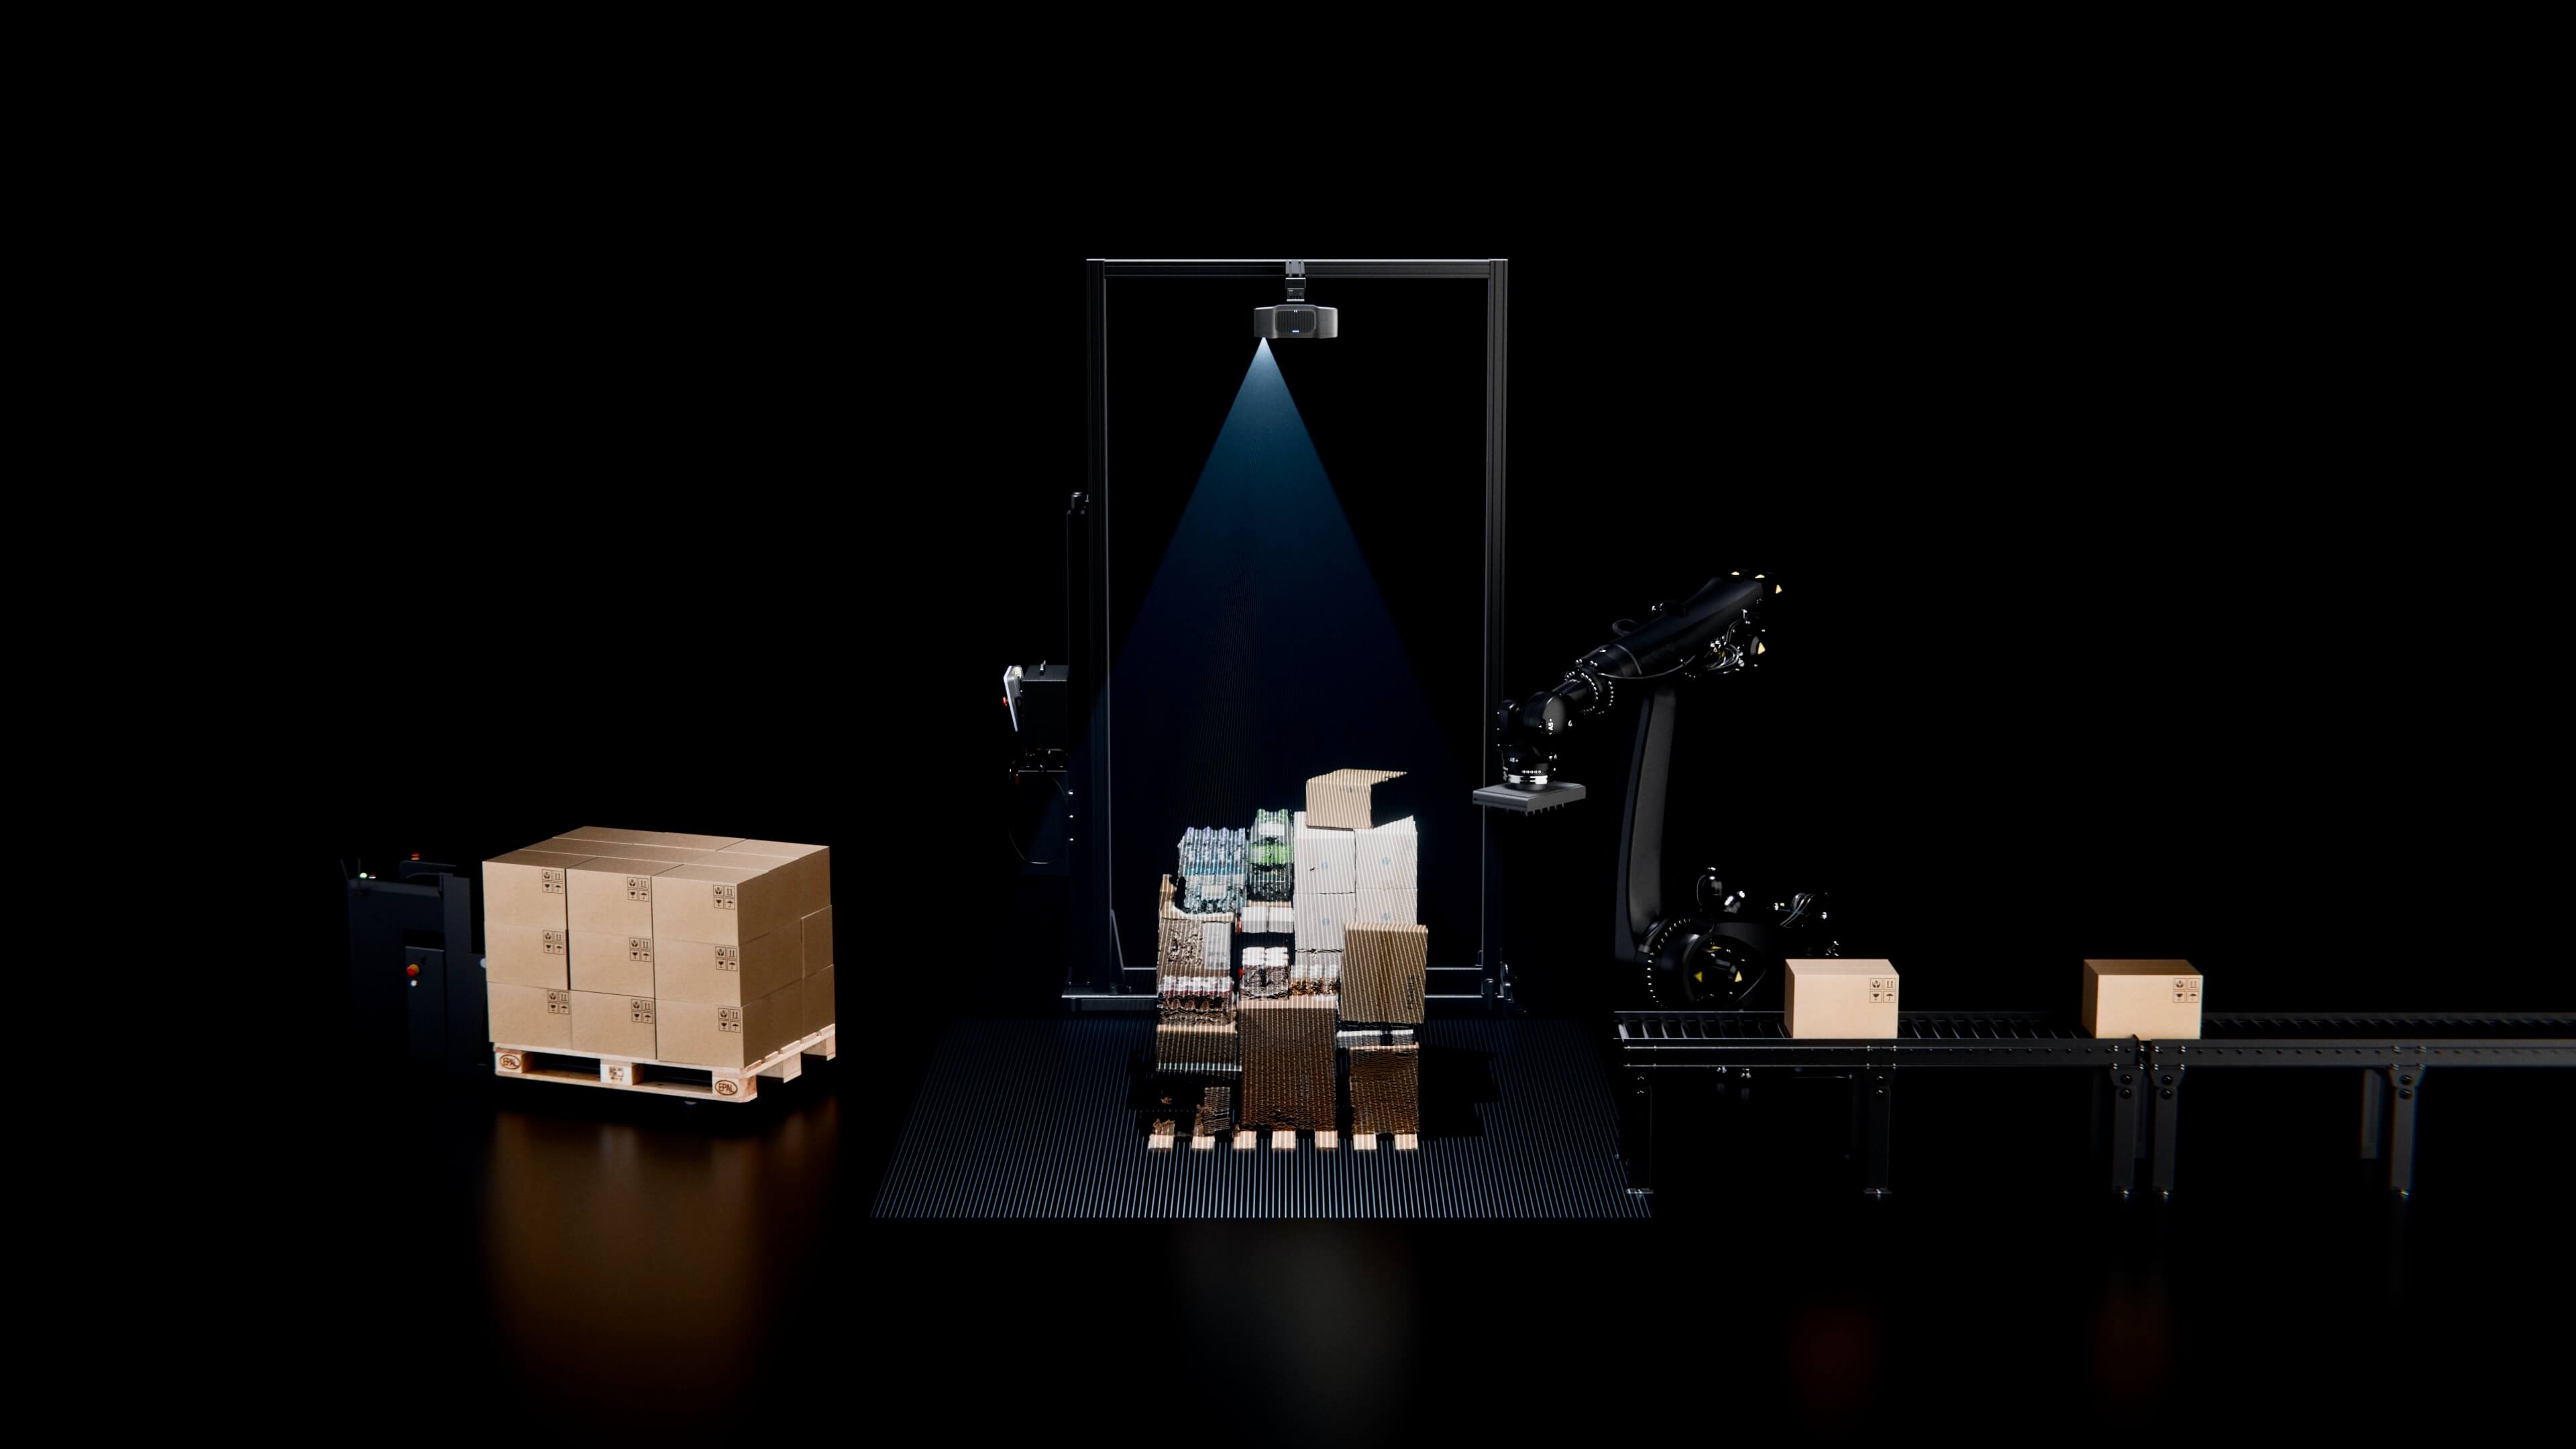

The best way to test a 3D camera for depalletizing is to build a deliberately difficult pallet of black, shiny, transparent, and tightly packed items, then capture it at full working distance with the dock door open. A camera that passes this test in your own conditions will handle production. A spec sheet will not tell you that.
Every 3D camera looks good on a neat stack of brown cardboard boxes. That is the demo pallet, and it is the least useful thing you can test. Production pallets arrive with shrink wrap, tape, black totes, cans, and gaps you could not fit a credit card into. If your evaluation does not include those, you are not evaluating the camera you will actually be living with.
Here is a practical test plan you can run in a day or two, using items you can find in any warehouse.
Step 1: Build the torture pallet
The goal is to put every known difficult surface on one pallet, next to each other, in the same capture. Real pallets mix materials, and many failures happen at the boundary between two very different surfaces.
| Item | 3D vision challenge | Pass criteria |
| Black plastic totes | Absorb most light, return weak signal | Complete top rims and walls, no holes |
| Shrink-wrapped water bottles | Transparent and curved, light passes through or reflects | Usable surface where a suction cup would land |
| Soda cans or foil packaging | Highly reflective, cause interreflections | No ghost surfaces or spikes |
| Glossy printed cartons | Specular highlights at some angles | Flat, consistent top surface |
| Boxes sealed with clear or colored tape | Tape reflects differently from cardboard | Tape does not create false edges |
| Matte white box next to a black box | Huge contrast in one scene | Both surfaces in a single capture |
| Identical boxes packed tightly | Gap of a few millimetres between them | Visible separation between each box |
Stack it to the full height you expect in production, ideally close to 2 m, and include a shifted or overhanging top layer. Real pallets move in transit.
Step 2: Mount the camera where it will actually live
Many evaluations put the camera on a tripod at a convenient distance. Do not do this. Depalletizing is a long-range application, and many 3D cameras only deliver their stated accuracy at the optimal point, usually the focus distance.
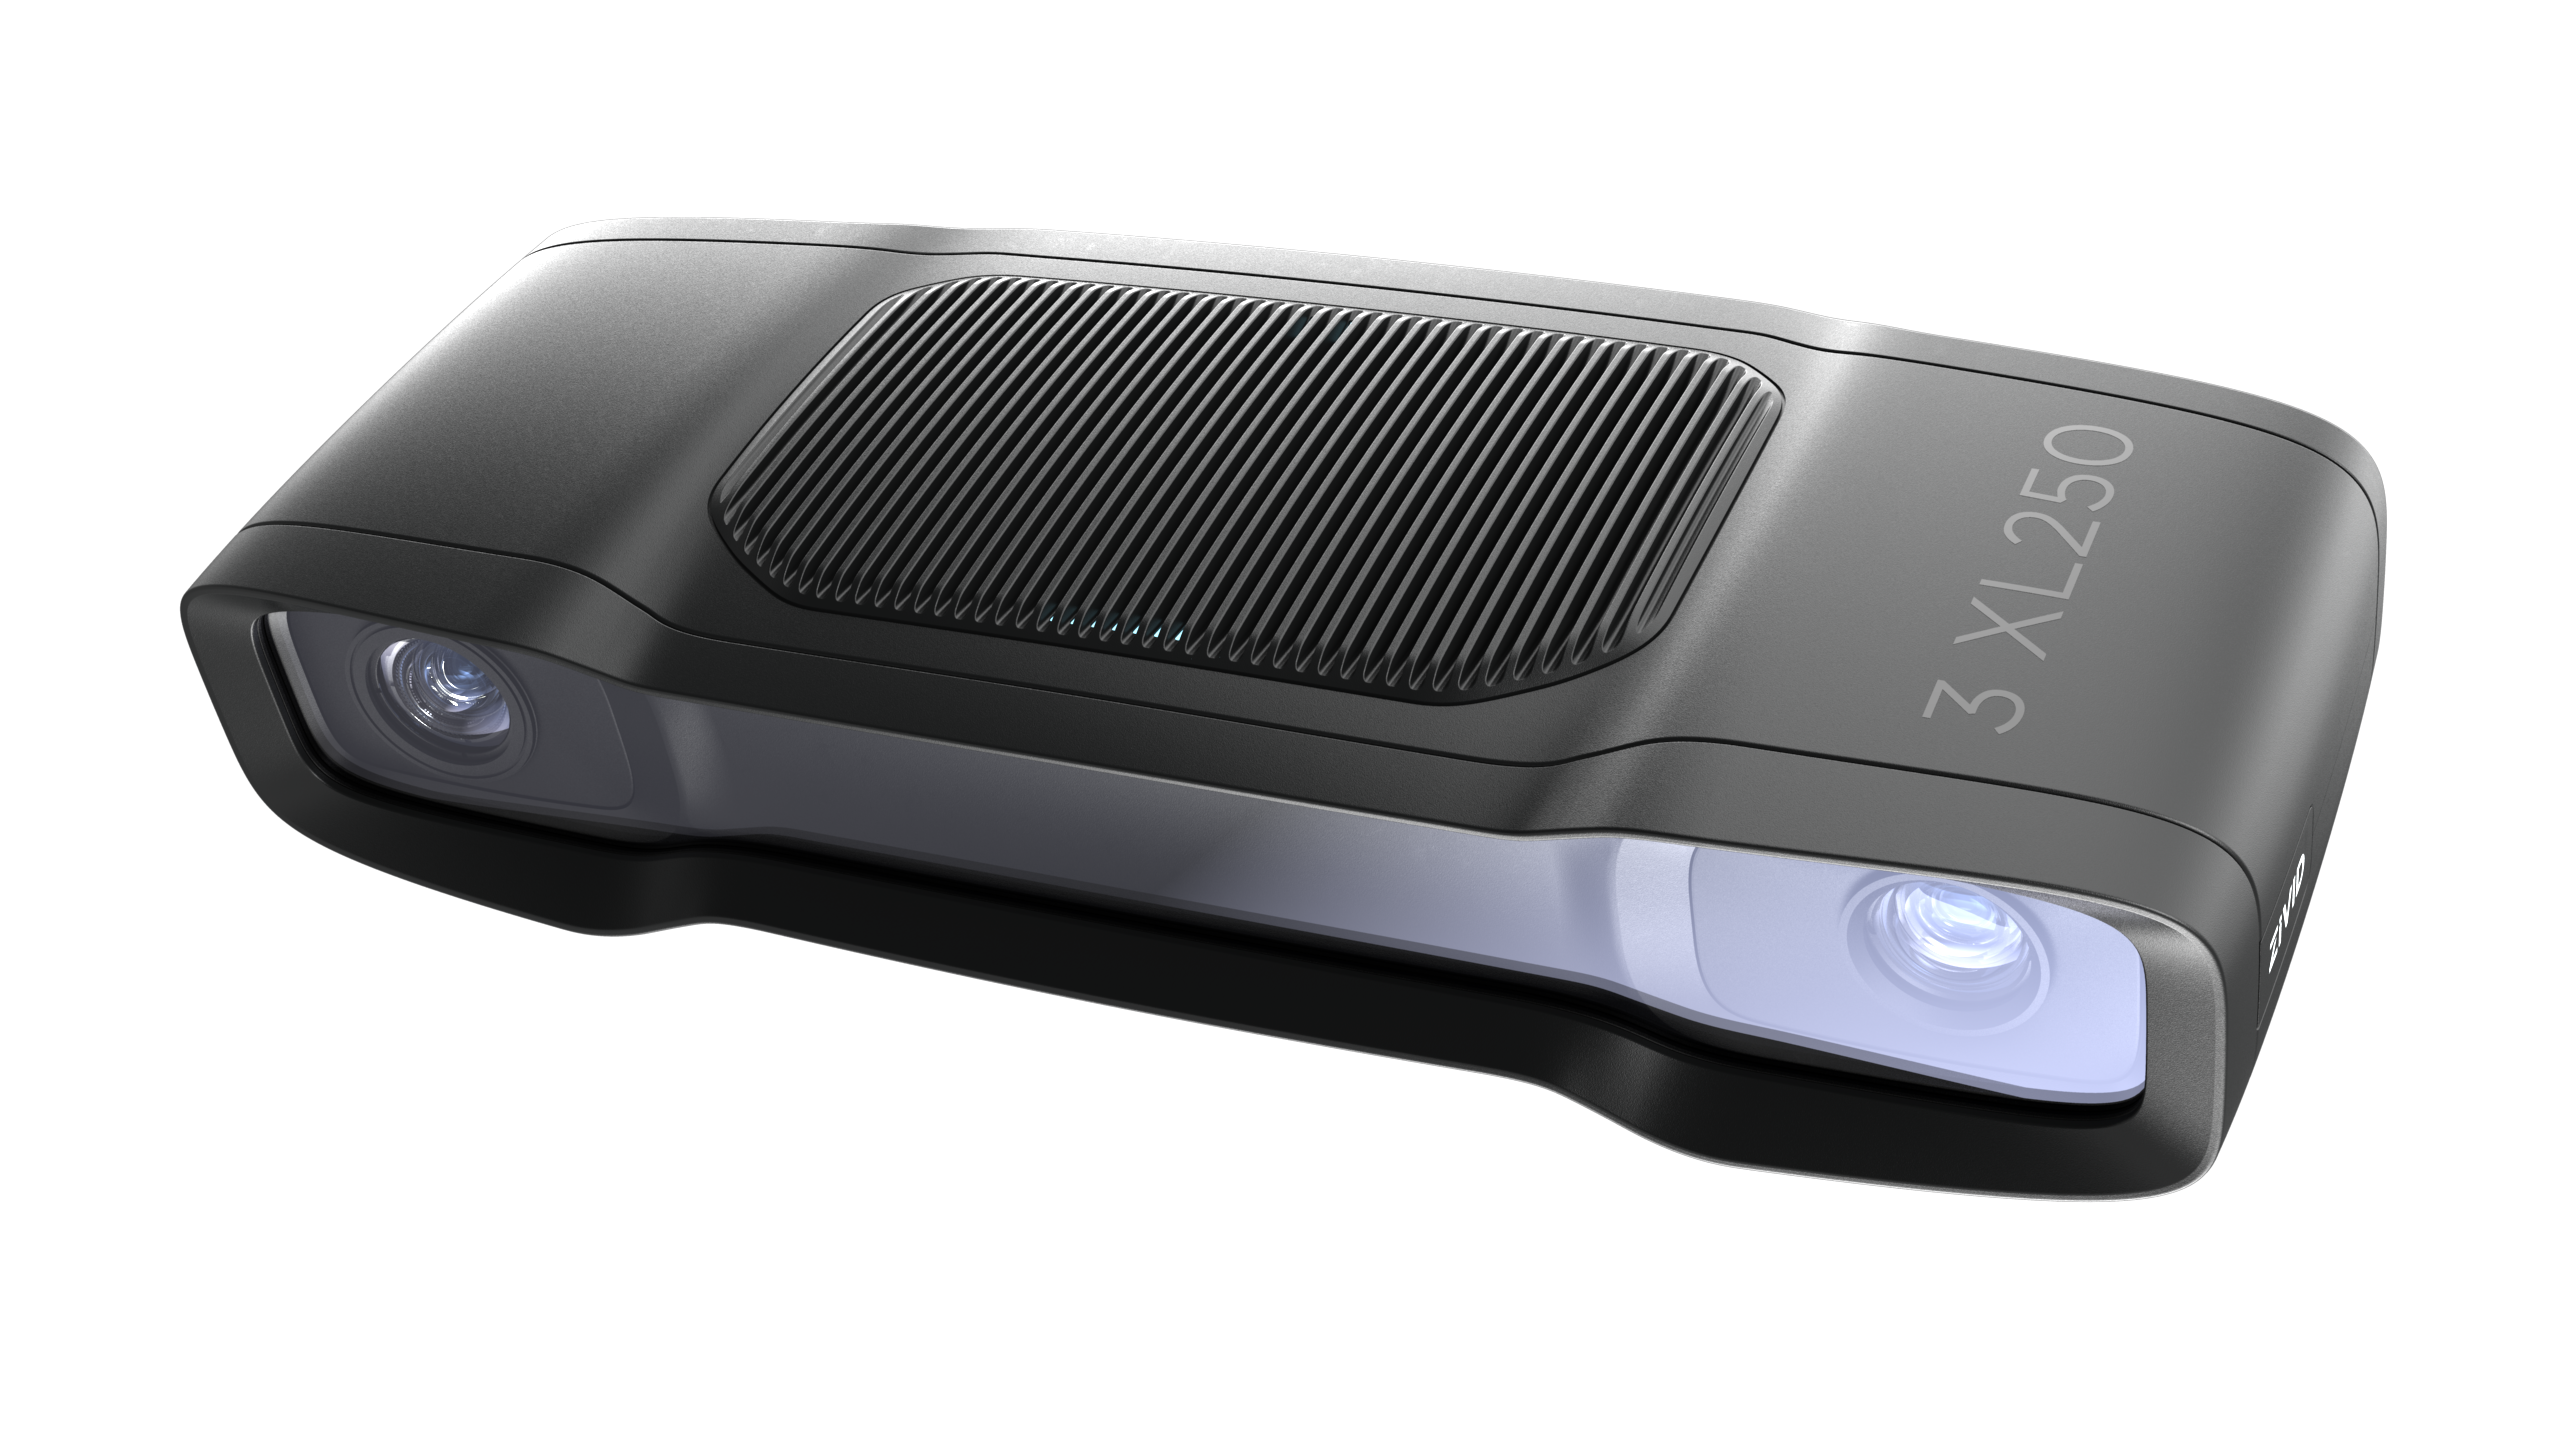
Mount the camera at the height you plan to use in the cell, looking down on the full pallet footprint. For a camera such as the Zivid 3 XL250, which has a working distance of 1.5 to 4.5 m and covers pallets up to 1.2 1.2 m and 2.3 m tall, that means testing the full pallet from a single static position, the way it will run in production.
Check that the entire footprint is in view, including the corners and any overhang. If a camera can't see the corners of the pallet, you'll need a second camera or a robot-mounted scan later.
Step 3: Capture top to bottom, layer by layer
This is the most important step and the one most evaluations skip.
Capture the full pallet, then remove the top layer and capture again. Repeat until you reach the last layer on the pallet base. At each layer, check:
-
Accuracy at depth. Measure a known box on the top layer and the same type of box on the bottom layer. The dimensions should match. If the bottom layer is noticeably worse, the camera is losing accuracy at range.
-
Edge quality. Can you still see the gaps between tightly packed boxes when they are furthest from the camera?
-
Data on the pallet base. The last layer sits against the pallet itself. You need clean data down to the base to pick it safely.
Zivid designed the XL250 to deliver point clouds down to the pallet base, with a trueness error below 0.2% across the working volume. Use your layer-by-layer captures to check claims like this for yourself.
Step 4: Open the dock door
Run the same captures with the bay door open, ideally at a time of day when sunlight falls on or near the pallet. Then run them again with the warehouse lights in their normal production state.
Compare the point clouds. You are looking for:
-
Holes appearing on dark items that were complete before
-
Noise increasing on one side of the pallet
-
The 2D colour image washing out, which will hurt segmentation and barcode reading
Cameras with narrowband illumination handle this much better than broadband ones. The Zivid 3 XL250 uses a blue laser with narrowband filtering for this reason, and Zivid states that it maintains 2D and 3D quality near loading bay doors, including in direct sunlight.
Step 5: Leave it running overnight
Temperature drift is invisible in a one-hour demo. Leave the camera mounted and capturing a fixed reference object, such as a calibration board or a known box, from the afternoon through to the next morning. Ideally, open and close the bay door a few times.
Plot the measured position and size of the reference over time. A stable camera will show a flat line. A camera that drifts will show a slow wander that tracks the temperature in the bay, and that wander is what turns into mispicks and crushed boxes in production.
Step 6: Time it under realistic settings
Capture time is often quoted under ideal conditions. Measure it with the settings you actually need to get good data on your torture pallet, including any HDR or quality settings.
Zivid publishes capture times by scene type for the XL250, which makes this comparison easier:
-
Parcels or fashion items: under 250 ms
-
Mixed pallets of boxes and bottles: under 500 ms
-
Shiny metal parts: under one second
Compare what you measure against your cycle time budget. The camera should not be the bottleneck. If a competing camera only hits its quoted speed on cardboard, you have learned something important.
Step 7: Measure how fast you can get to a good result
The final test is the one buyers forget: how long did it take your team to get good data? Count the hours spent tuning settings, adjusting exposure, and fighting the software.
Ready-to-use presets matter here. Mujin cites the Zivid presets as one of the reasons it chose the camera, and settings tuned in Zivid Studio carry directly into production code through the Zivid SDK. Integration time is a real cost, and it multiplies with every cell you build.
A scorecard for your depalletizing camera evaluation
Use this to compare cameras on the same torture pallet.
| Test | Pass criteria |
| Difficult materials | Usable data on every item on the torture pallet |
| Tight packaging | Gaps between adjacent boxes visible at all layers |
| Accuracy at depth | Bottom layer dimensions match top layer |
| Full footprint | Entire pallet, including overhang, in a single capture |
| Ambient light | No significant degradation with the dock door open |
| Thermal stability | No meaningful drift on the reference object overnight |
| Capture time | Within budget using the settings needed for good data |
| Time to good data | Good results within hours, not weeks |
The bigger picture: test the pallet you will actually get
Camera evaluations often fail because they test the conditions the vendor is comfortable with rather than the conditions the customer will run in. A torture pallet flips that. It costs very little to build, takes a day or two to run, and gives you evidence you can show your customer or your management.
If a camera handles the worst pallet you can build, at full distance, in sunlight, after a cold night, it will handle the pallets that roll off the truck.
Want to go further? Download our free ebook:
FAQ
What items should I use to test a depalletizing camera?
Use the hardest items you will see in production: black plastic totes, shrink-wrapped bottles, soda cans, glossy cartons, boxes with clear tape, and identical boxes packed tightly together. Put them on the same pallet so you test the boundaries between materials as well as the materials themselves.
Why should I test a 3D camera layer by layer?
Because the bottom layer is the furthest from the camera, and many 3D cameras lose accuracy at range. Removing one layer at a time and recapturing shows whether accuracy holds all the way down to the pallet base.
How do I test a 3D camera for temperature drift?
Leave the camera capturing a fixed reference object overnight, ideally while the bay door opens and closes. Plot its measured position and size over time. A stable camera shows a flat line.
How fast should a depalletizing camera capture a pallet?
Fast enough that it never becomes the bottleneck in your cycle time. The Zivid 3 XL250 captures mixed pallets of boxes and bottles in under 500 ms, and parcels in under 250 ms. Always measure capture time with the settings you need for good data, not best-case settings.
The Best 3D Camera for Big Workloads in Factories and Warehouses
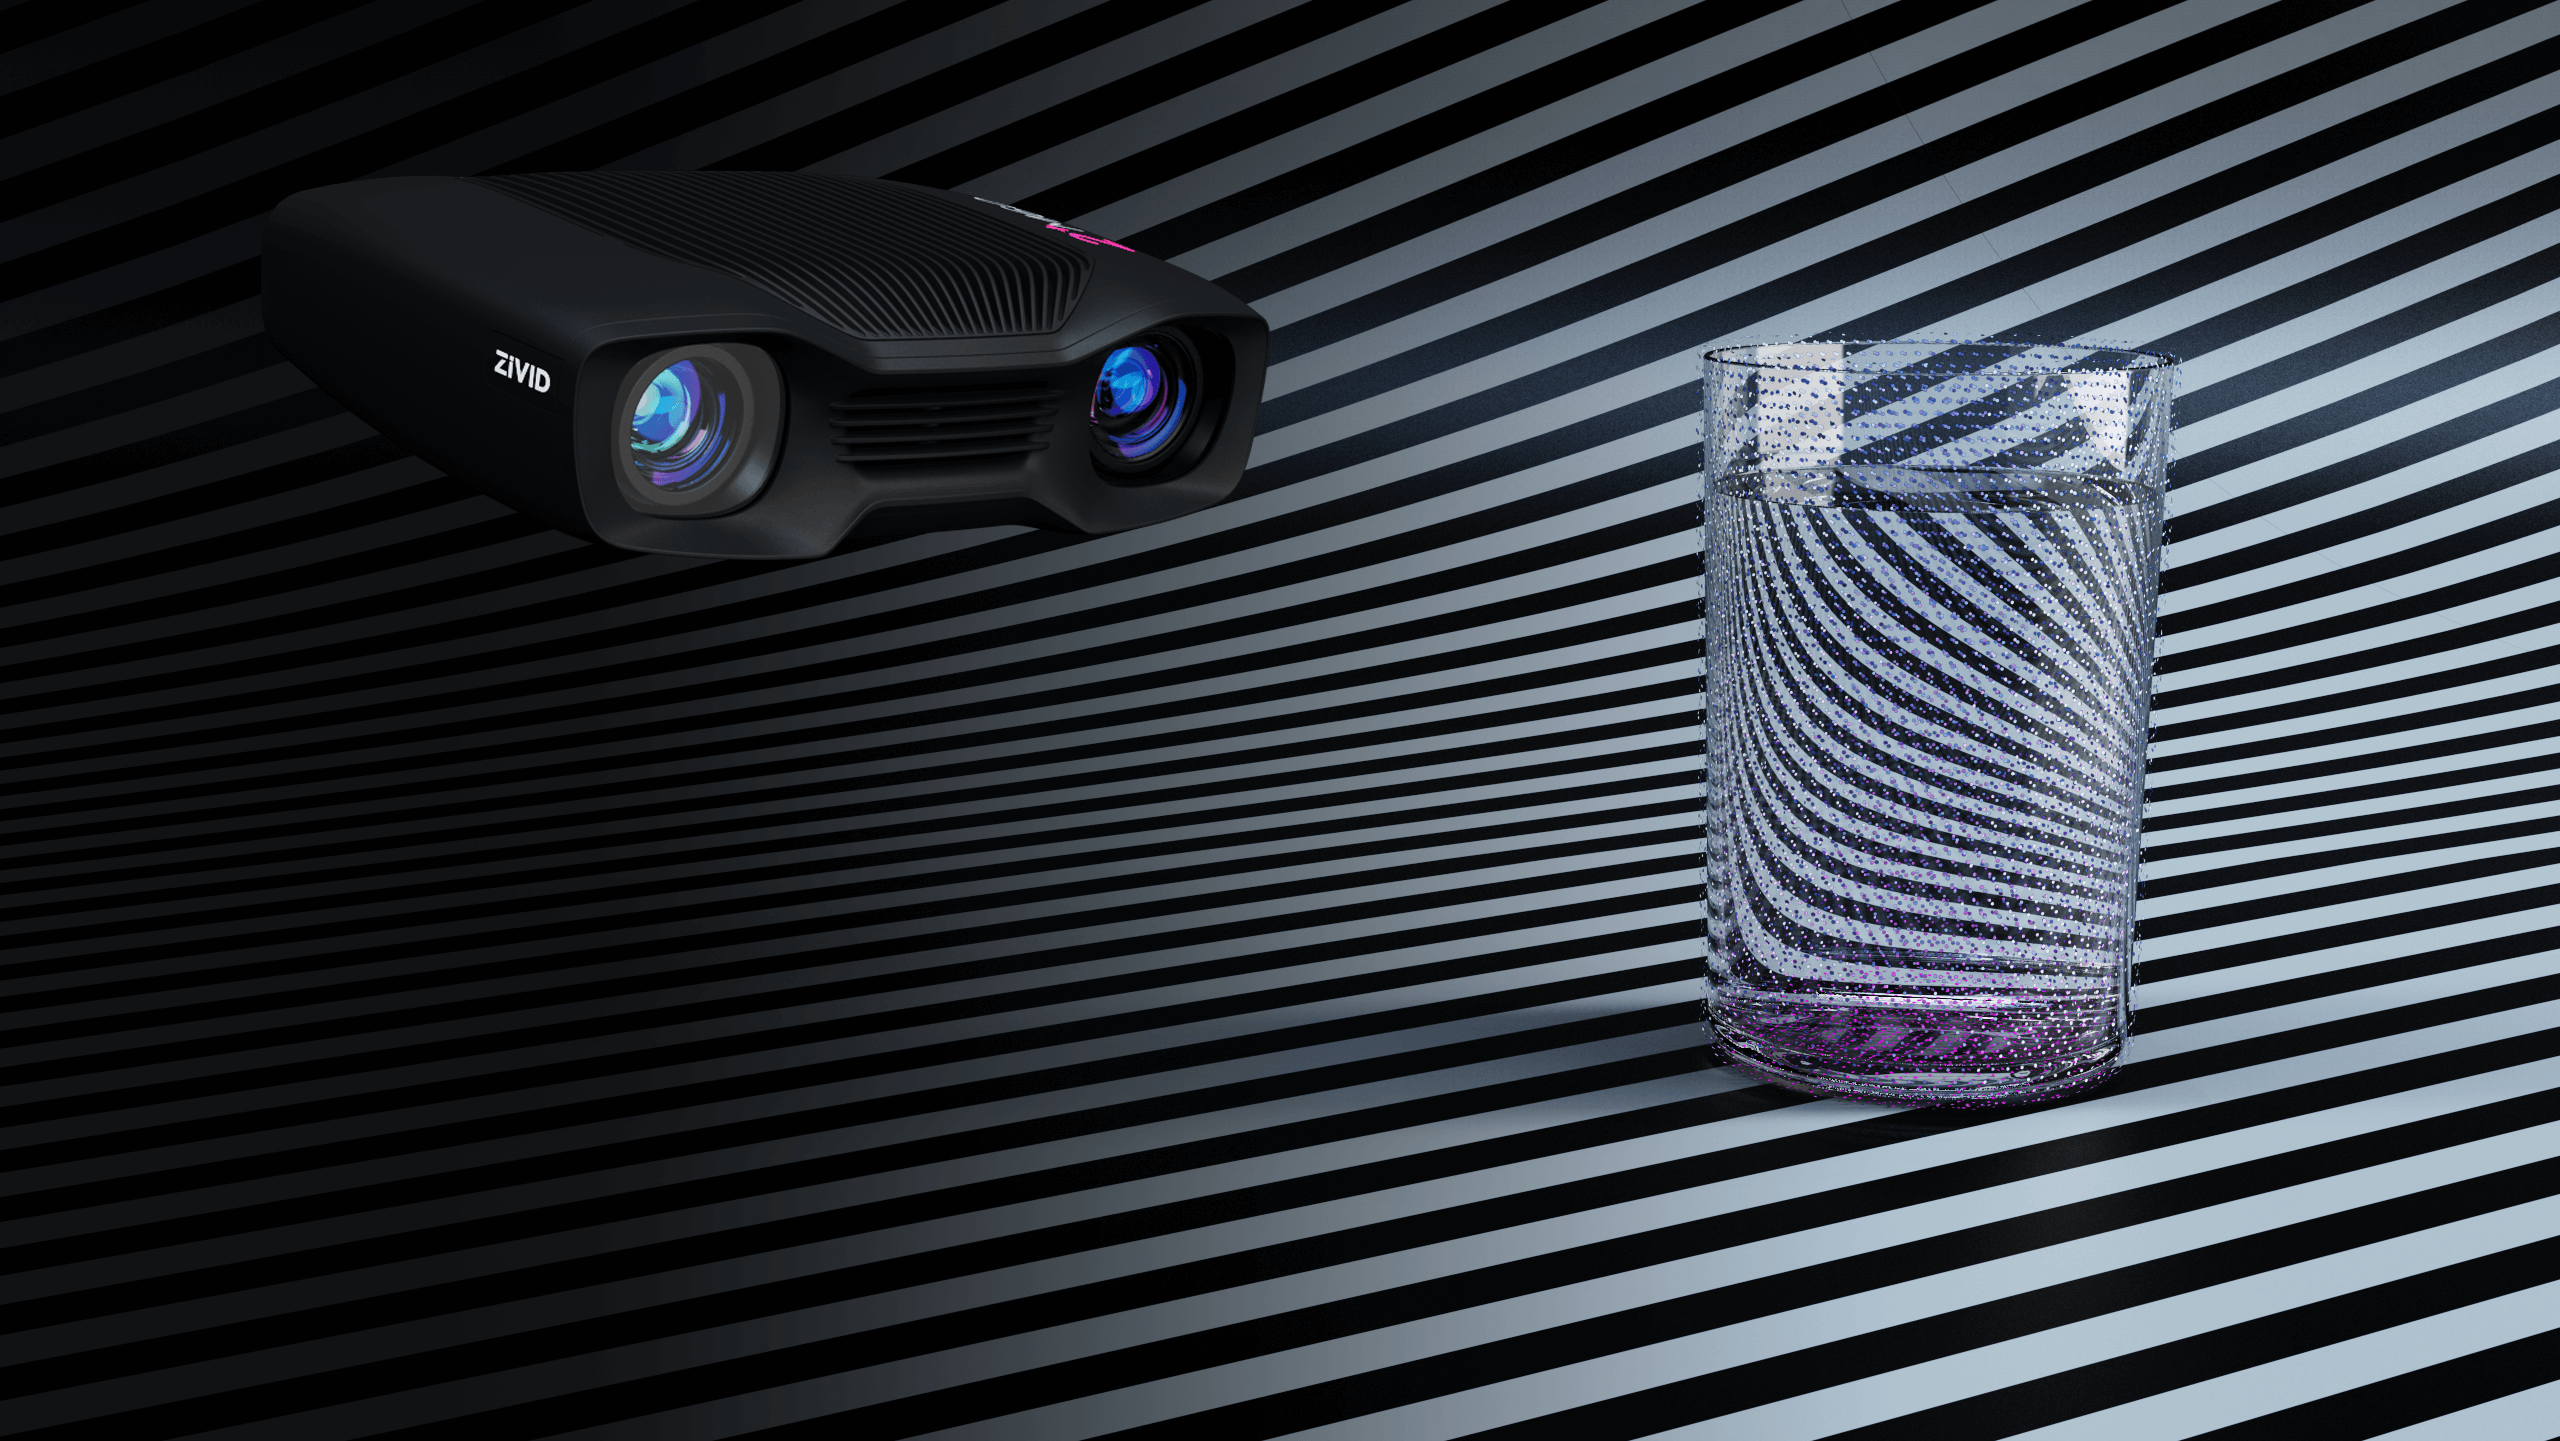
Zivid Unveils Transparent Imaging 3D Cameras